

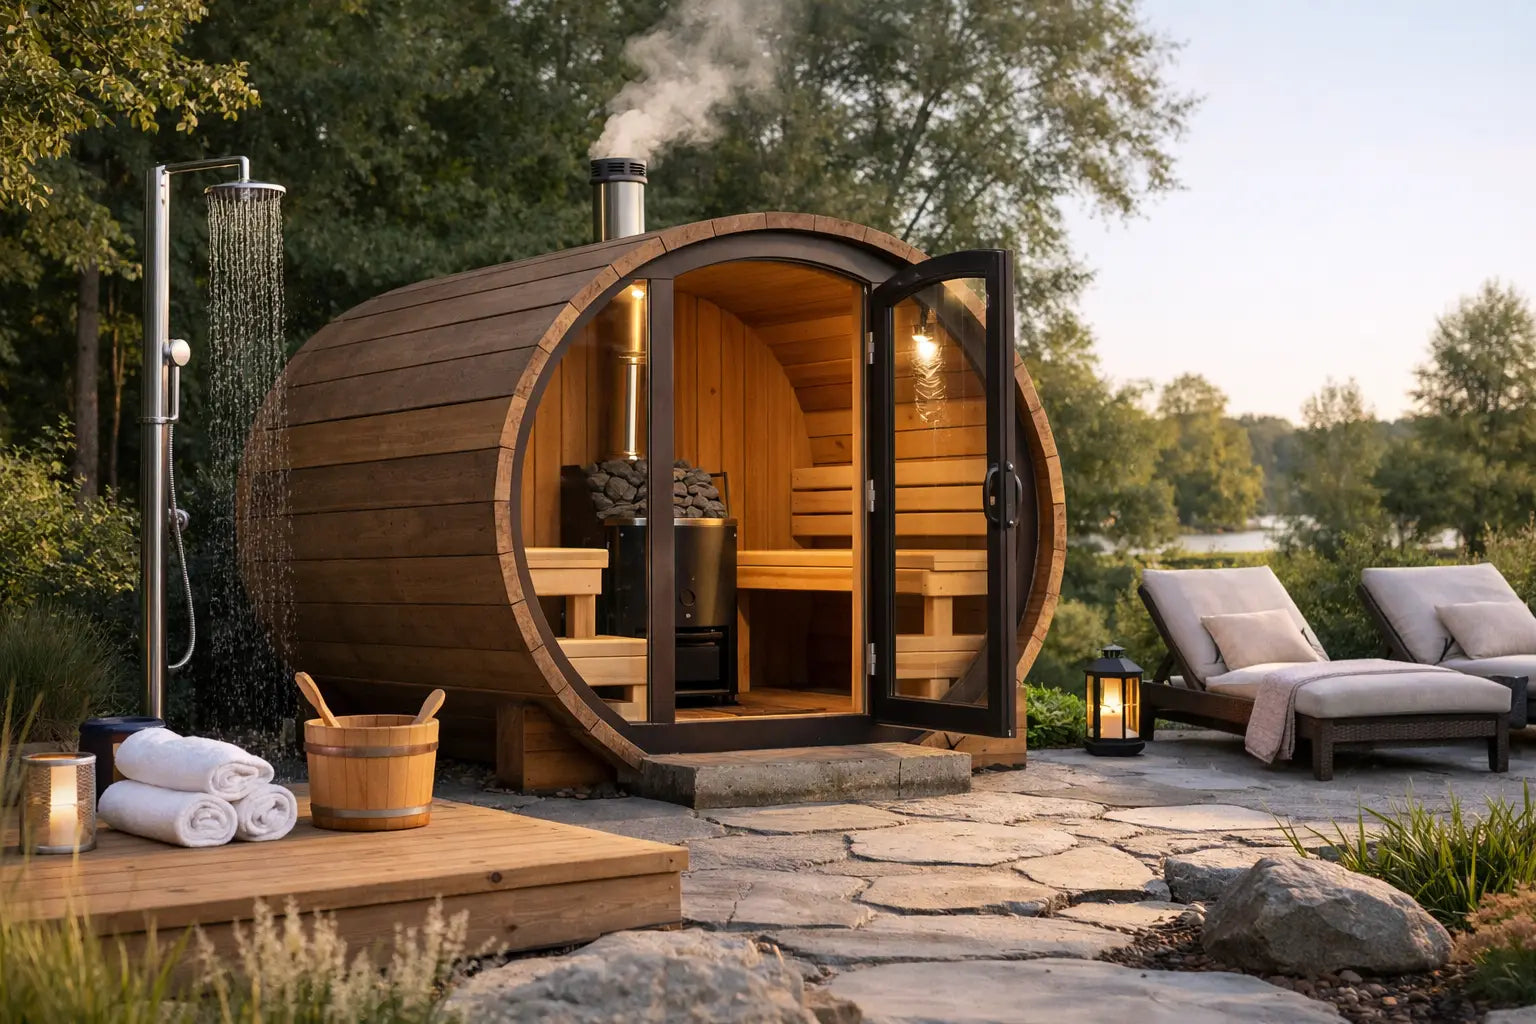
Outdoor Sauna Installation Guide for Your Home
A beautiful outdoor sauna begins long before the first session. It begins with a level foundation, a thoughtful view from the bench, and the quiet assurance that every practical detail has been handled correctly. Done well, installation turns a corner of your property into a reliable place to return to warmth after training, work, travel, or a long winter day.
This outdoor sauna installation guide is designed to help you plan that space with the care a premium wellness ritual deserves. The best approach is rarely the fastest one. It is the one that respects your climate, your property, your electrical capacity, and the way you hope to use the sauna for years to come.
Start With the Wellness Experience, Then Choose the Site
Before measuring a pad or calling an electrician, picture the experience. Will you step into the sauna after a cold plunge? Do you want it near a primary suite for a quiet evening ritual, or closer to a pool and entertaining area? Is privacy essential, or would a wide view make the space feel more restorative?
A good location balances atmosphere with access. You need a clear, practical path from the house in rain, snow, and darkness. For many homeowners, a sauna positioned 10 to 30 feet from the home creates a sense of retreat without making towels, water, and maintenance inconvenient. Consider where you will place a robe hook, a bench for cooling down, and exterior lighting that makes the route feel safe without flooding the space with glare.
Sun exposure deserves some thought as well. Morning sun can help dry surrounding surfaces, while deep shade may keep the area damp longer. In hot climates, afternoon shade can make the approach more comfortable and reduce direct weathering on the exterior. There is no single right orientation, but there is a right answer for your property and routine.
Check setbacks, access, and overhead clearance
Local rules can affect where a freestanding sauna may sit, particularly near property lines, easements, pools, septic systems, or protected drainage areas. Homeowners associations may also have requirements for visible structures. Verify zoning, permitting, and setback rules before placing an order or building a foundation.
Measure the entire delivery path, not just the sauna footprint. A preassembled unit may require wide gate access and enough turning room for delivery equipment. Kit saunas are often easier to bring into a backyard piece by piece, but they require more assembly time. Also look up. Tree limbs, rooflines, and utility wires can complicate delivery and future chimney clearance for wood-fired models.
Build a Foundation That Stays Level
An outdoor sauna needs a stable, level, well-drained base. Small deviations can create door alignment problems, uneven bench lines, and stress on the structure as the ground shifts through seasonal freeze-thaw cycles. The foundation should support the fully assembled sauna, its heater, occupants, and any snow load expected in your area.
A reinforced concrete pad is a durable choice for many installations, especially where the soil is soft or winters are severe. A compacted gravel base can also work beautifully when designed to the manufacturer’s specifications and contained properly. Pavers may suit lighter structures, but they must sit on a professionally prepared, compacted base rather than loose soil.
Avoid placing the sauna directly on grass, bare earth, or a standard wood deck unless an experienced builder confirms the deck can handle the load and moisture exposure. Wood decks can be visually appealing, but they may need additional framing, ventilation beneath the sauna, and a plan for water runoff.
Plan the grade so water moves away from both the sauna and your home. You do not need an elaborate drain system for every model, but you do need to prevent standing water around the foundation. In regions with heavy rain or snowmelt, a gravel perimeter or thoughtfully placed drainage can protect the base and make the entrance more pleasant underfoot.
Plan Power, Heat, and Ventilation Early
Electrical planning is one of the most consequential parts of an outdoor sauna installation. Most electric sauna heaters require a dedicated circuit, and many premium models operate on 240 volts. The exact breaker size, wire type, disconnect requirements, and GFCI protection depend on the heater, local code, and distance from the electrical panel.
Bring in a licensed electrician before finalizing the location. They can assess available panel capacity and estimate the route for buried conduit or exterior-rated wiring. Planning this early avoids the frustrating discovery that a dream location requires a costly electrical run or panel upgrade.
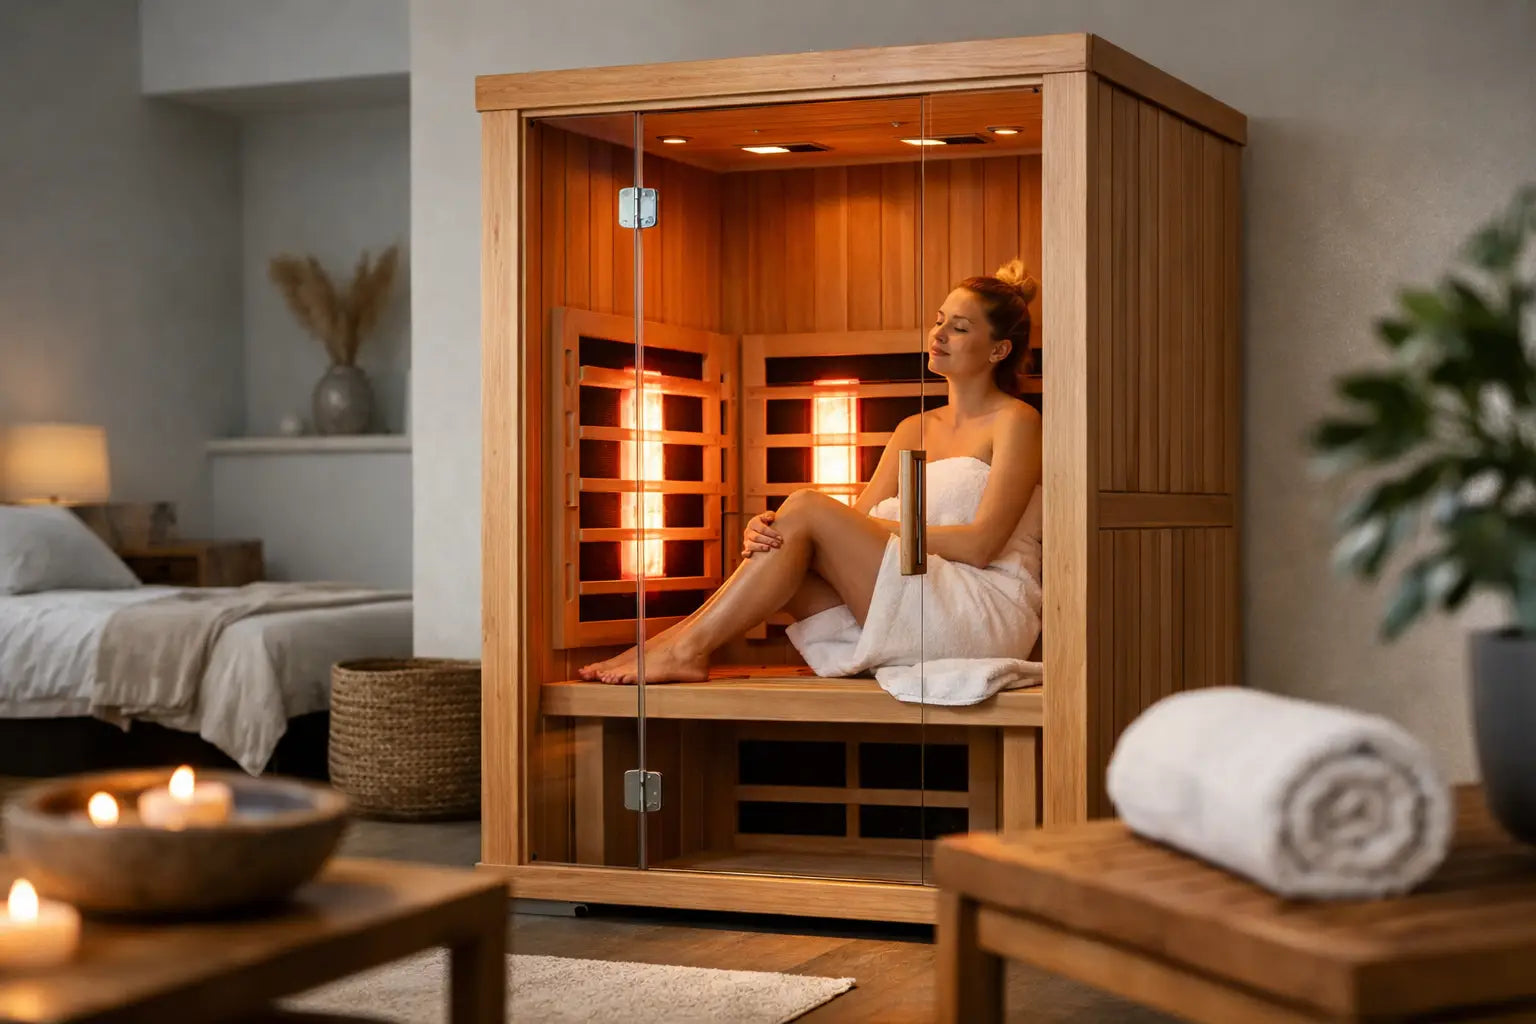
Traditional electric saunas, infrared saunas, and wood-fired saunas each create different installation considerations. A traditional heater produces the high, enveloping heat many people associate with sauna bathing and may require water-safe flooring and approved clearances around the heater. Infrared units typically operate at lower ambient temperatures and have their own electrical needs. Wood-fired models offer a deeply elemental experience but demand careful chimney routing, noncombustible clearances, fire-safe hearth materials, and local approval.
Ventilation is not optional. It supports comfortable heat distribution, helps manage moisture, and protects the sauna’s interior over time. Follow the manufacturer’s instructions precisely for intake and exhaust vent placement. Do not assume that a tightly sealed cabin will perform better. A sauna needs controlled airflow, not stale air.
Assemble With Patience and Protect the Materials
If you have selected a sauna kit, read the complete assembly instructions before unpacking every component. Organize panels, hardware, glass, roofing materials, and heater parts in a clean, dry area. It is much easier to spot a missing piece or clarify a step before the structure is halfway built.
Assembly usually goes smoothly when the foundation is level and the pieces are kept square from the first wall section. Do not force boards, doors, or glass into place. Resistance often signals that the base needs adjustment or that components are out of sequence. A second set of hands is especially useful for roof panels, large doors, and any glass elements.
Outdoor saunas are designed to live with the elements, but they still benefit from protection. Apply any recommended exterior treatment only to exterior surfaces and never coat interior benches or walls with products that may off-gas when heated. Use the manufacturer-approved roofing system, flashing, and fasteners. These details may feel less glamorous than selecting a heater or lighting package, yet they determine how well the sauna withstands rain, UV exposure, and changing temperatures.
Complete the First-Heat Safety Check
Before your first full session, inspect the sauna as a system. Confirm that the heater has the required clearances, guard rail, stones if applicable, and wiring connections. Test the door operation, lights, controls, ventilation openings, and exterior pathway lighting. Remove packaging, sawdust, tools, and any combustible materials from the sauna and heater area.
Run the sauna through an initial heat cycle according to the manufacturer’s guidance. This allows you to confirm that it reaches temperature properly and lets new materials settle. Some initial odors can occur with a new heater or wood surfaces, but strong, persistent smells, electrical issues, or unusual heater behavior warrant a pause and a call to a qualified professional.
For a traditional sauna, choose sauna stones approved for your heater and arrange them loosely enough for airflow. Overpacking stones can reduce performance and strain the unit. If you plan to use water on the stones, use it sparingly and only when your heater is designed for it. Never use essential oils directly on hot stones unless the product instructions specifically allow it.
Make the Surroundings Part of the Recovery Experience
The sauna itself is the center of the ritual, but the moments around it matter. A slip-resistant path, a covered robe station, a teak or cedar bench, and a place to set down water can make regular use feel effortless. If you pair heat with cold exposure, leave enough room to move safely between the sauna and plunge without crossing uneven ground or stairs in wet feet.
Keep the setting calm rather than crowded. A few intentional details - soft outdoor lighting, evergreen screening, fresh towels, and a small water station - create more impact than a long list of accessories. WellNest Home approaches home wellness as a practice, not a collection of equipment, and your layout should make that practice easier to keep.
Ongoing Care Begins on Day One
A sauna that is cared for gently tends to remain more inviting. After use, leave the door open briefly to release humidity and allow surfaces to dry. Wipe benches as needed with a clean cloth and mild sauna-safe cleaner. Check exterior seals, roof materials, and drainage seasonally, particularly after storms or winter weather.
Your installation does not need to be perfect to become meaningful. It simply needs to be safe, well considered, and welcoming enough that you use it. When the foundation is sound and the details support your routine, stepping outside for heat can become one of the most reliable ways to come back to yourself.

Leave a comment
This site is protected by hCaptcha and the hCaptcha Privacy Policy and Terms of Service apply.