How to Install Indoor Sauna Safely at Home
The best home sauna feels effortless once the door closes: steady warmth, quiet air, and a private place to return to yourself after a demanding day. But to install indoor sauna safely, the planning must happen well before the first panel is assembled. The room, electrical capacity, floor, ventilation strategy, and local code requirements all shape whether your retreat will feel restorative for years or create avoidable complications.
A premium sauna is not simply another appliance. It is a heat-producing wellness system installed inside your home. Treating it with the same care you would give a bathroom renovation or a new electrical circuit protects your investment, your home, and the ritual you are creating.
Start With the Right Indoor Location
The right room is one that can manage heat, humidity, access, and service needs without disrupting the rest of the home. A finished basement, dedicated wellness room, large primary bathroom, home gym, or well-planned spare room can all work beautifully. The best choice depends on the sauna type and how the space is constructed.
For a traditional or infrared sauna, begin with a level, stable floor and enough surrounding space for installation, door swing, and future service. Avoid placing the unit where it blocks an exit, crowds a walkway, or prevents access to electrical panels, plumbing shutoffs, or mechanical equipment. Measure the room itself, not just the sauna footprint. A compact sauna may fit within a corner, but its electrical connection and required clearances still need room.
Think about the ritual, too. A sauna beside a shower makes post-session cooling convenient. A location near a bedroom may support an evening wind-down, while a home gym can make sense for a recovery-focused routine. Privacy matters, but so does practical access. Carrying a large sauna kit through narrow stairs, tight hallways, or a finished doorway can become the first installation obstacle.
Match the Space to the Sauna Type
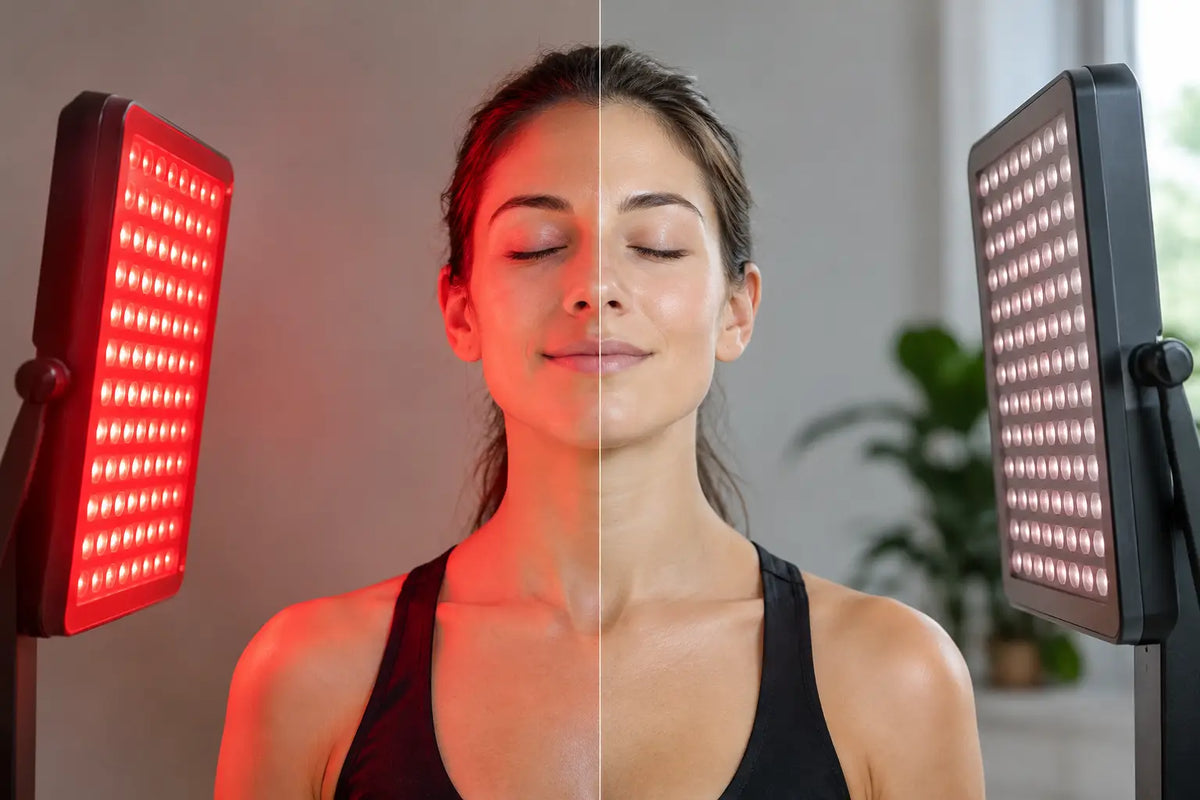
Infrared saunas are often the most adaptable choice for indoor installation because they generally operate at lower air temperatures and do not produce steam. Still, some models require a dedicated circuit or hardwired connection, and a plug-in model should never be treated as automatically compatible with every outlet.
Traditional saunas use an electric heater and sauna stones to warm the room. They demand more from the electrical system and may require more deliberate ventilation planning. If water is ladled over hot stones, the room will experience intermittent humidity, even though it is not a steam shower.
Steam saunas are a different class of project. They require a properly waterproofed enclosure, vapor-tight construction, suitable wall and ceiling materials, a steam generator, plumbing, drainage considerations, and careful detailing around penetrations. For most homes, a steam sauna should be designed and installed with experienced bathroom and electrical professionals rather than approached as a simple assembly project.
Confirm Electrical Capacity Before You Buy
Electrical work is the safety decision that deserves the least guesswork. Sauna heaters and infrared systems draw significant power, and the manufacturer’s voltage, amperage, wire-size, breaker, and disconnect requirements are not suggestions. They are the installation standard for that specific unit.
Before ordering, have a licensed electrician assess your existing service panel and the intended sauna location. They can confirm whether the home has adequate capacity, whether a dedicated circuit is required, and whether the installation must be hardwired. They will also identify local requirements for permits, disconnects, and ground-fault circuit-interrupter protection where applicable.
Do not use extension cords, power strips, outlet adapters, or improvised wiring to make a sauna work. These shortcuts can overheat, create a fire risk, void a warranty, and leave you outside code requirements. If the electrical upgrade changes the project budget, it is better to know before the sauna arrives than after a finished room has been rearranged around it.
A qualified electrician should also plan the placement of controls and any required disconnect. Controls should remain accessible, protected from direct heat exposure, and installed precisely as the manufacturer directs. For a traditional sauna, heater guards, temperature sensors, and high-limit safety components must never be modified or bypassed.
Build a Foundation That Tolerates Heat and Moisture
A sauna needs a floor that is level, firm, and appropriate for the total loaded weight of the unit, occupants, heater, and any accessories. Tile, concrete, and other moisture-tolerant hard surfaces are often practical choices. In a dry infrared sauna, a stable finished floor may be suitable if the manufacturer allows it. For a traditional sauna, a water-resistant surface is especially helpful because sweat and occasional water from bathing or ladling can reach the floor.
Carpet is rarely an ideal foundation. It can trap moisture and odor, complicate leveling, and make cleaning less pleasant. Natural wood flooring can work in some situations, but repeated heat and moisture exposure may affect its finish or movement over time. When in doubt, follow the sauna maker’s floor specifications and ask an installer to assess the room rather than relying on appearance alone.
If your sauna will sit above a finished living space, consider more than the floor surface. Confirm the structure can support the equipment and that any moisture event would be contained rather than traveling into ceilings below. This is particularly relevant for larger traditional units and any steam installation.
Plan Ventilation, Not Just Heat
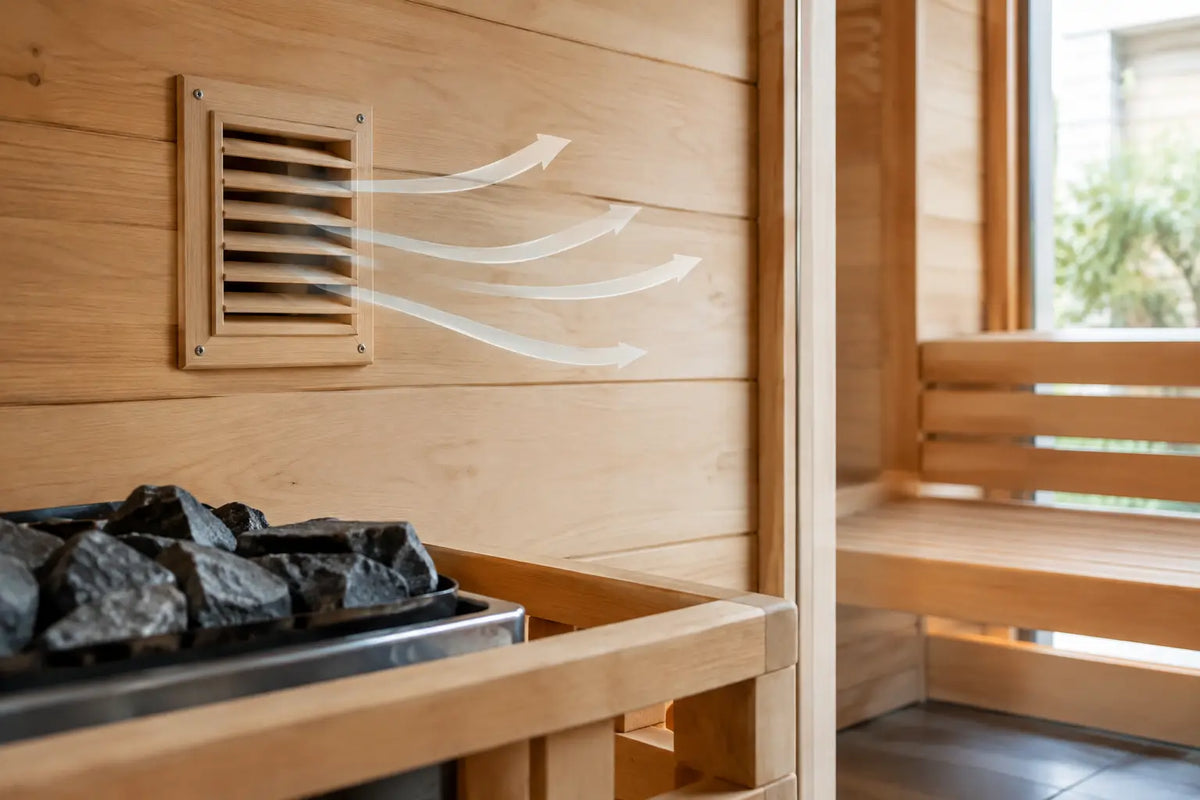
A sauna should feel warm and clean, never stale. Ventilation helps manage comfort, protects surrounding finishes, and allows the room to dry between sessions. Yet the correct approach depends on the sauna design. More ventilation is not always better if it disrupts heater performance or conflicts with the manufacturer’s airflow plan.
For a traditional sauna, intake and exhaust vents are typically positioned according to the heater and cabin specifications. The goal is controlled air exchange, not a draft across the bench. Follow the prescribed vent locations, sizes, and distances from the heater. Do not cover vents with towels, décor, or storage bins.
An infrared sauna generally has simpler ventilation needs, but the surrounding room still needs to release residual warmth and humidity from occupants. Leaving enough space around the unit, keeping the room’s existing ventilation functional, and opening the sauna door after use can support drying. A bathroom exhaust fan may be useful in the larger room, but it should not be assumed to replace the sauna manufacturer’s requirements.
Steam spaces require purposeful mechanical ventilation for the room after use, although the exhaust fan itself is typically not run during a steam session. The enclosure must dry fully, and the design needs to prevent moisture from migrating into walls or ceilings.
Respect Clearances and Fire Safety
Every sauna model has minimum clearance requirements around heaters, walls, ceilings, benches, and combustible materials. These measurements are essential, particularly for traditional heaters. A few inches of missing clearance can change how nearby materials are exposed to heat over thousands of sessions.
Keep the sauna free of storage. Towels, robes, essential oils, reading material, cleaning products, and exercise gear should not rest on or near the heater. If you use aromatherapy, choose products intended for sauna use and use them only as directed. Essential oils are concentrated and often flammable, so they should never be poured directly onto a heater or electrical component.
Use only manufacturer-approved stones in a traditional heater, and stack them loosely enough for air to circulate. Cracked stones, overloaded stone compartments, or substitutions from the garden can affect performance and create hazards. Inspect the heater area regularly, especially if your household includes children, guests, or anyone unfamiliar with sauna operation.
Smoke alarms, carbon monoxide alarms, and fire safety equipment should remain properly installed throughout the home. An electric sauna does not produce carbon monoxide, but altering detectors or disabling alarms to accommodate heat is never an acceptable solution. If placement needs review, consult a licensed professional.
Make Installation a Professional Partnership
Some modular infrared cabins are designed for straightforward assembly, but even an approachable assembly does not eliminate the need for safe electrical setup, careful leveling, and strict adherence to the manual. Traditional and steam sauna projects commonly benefit from a coordinated team that may include an electrician, contractor, plumber, tile professional, and ventilation specialist.
Before installation day, create a simple handoff plan. Confirm delivery access, inspect all components before assembly, verify the final location and outlet or hardwire point, and retain the model-specific manual. If a permit or inspection is required, schedule it rather than treating it as an afterthought. A polished installation is not only more beautiful. It is easier to service, insure, and enjoy with confidence.
At WellNest Home, the most meaningful wellness spaces are built around consistency, not complication. Give the installation the patience it deserves, then let your sauna become the place where recovery has a dependable home - one warm, quiet session at a time.