Sauna Ventilation Guide for a Better Home Sauna
A home sauna should feel like a return to warmth, not a room that stays stale long after your session ends. This sauna ventilation guide explains how thoughtful airflow supports a more comfortable heat experience while helping protect the materials, finishes, and surrounding areas that make up your personal wellness sanctuary.
Ventilation is not the most glamorous part of a sauna project, but it is one of the details that separates a beautiful installation from one that performs beautifully over time. The right approach depends on the sauna type, heater, room location, local building requirements, and manufacturer instructions. A small infrared cabin has different needs than a traditional electric sauna, and a steam room is a different category altogether.
Why Sauna Ventilation Matters
A sauna produces heat, and in traditional and steam environments, substantial moisture. Without a clear path for fresh air to enter and warm, humid air to leave, the room can feel heavy rather than restorative. Air may become stuffy, heat can collect unevenly, and lingering moisture can place unnecessary stress on wood, insulation, drywall, and nearby finishes.
Good ventilation supports four practical outcomes: comfort during use, more even temperature distribution, quicker drying after use, and better long-term care of the space. It also helps keep the sauna from borrowing air from undesirable places, such as a garage, utility room, or damp basement.
For wellness-minded homeowners, this is a meaningful distinction. You are creating a ritual that should invite consistency - an unhurried place to reset after training, release the day’s tension, or begin a quiet morning with clarity. Fresh, intentional airflow helps the space remain inviting session after session.
Sauna Ventilation Guide: Start With Your Sauna Type
Traditional electric or wood-fired saunas
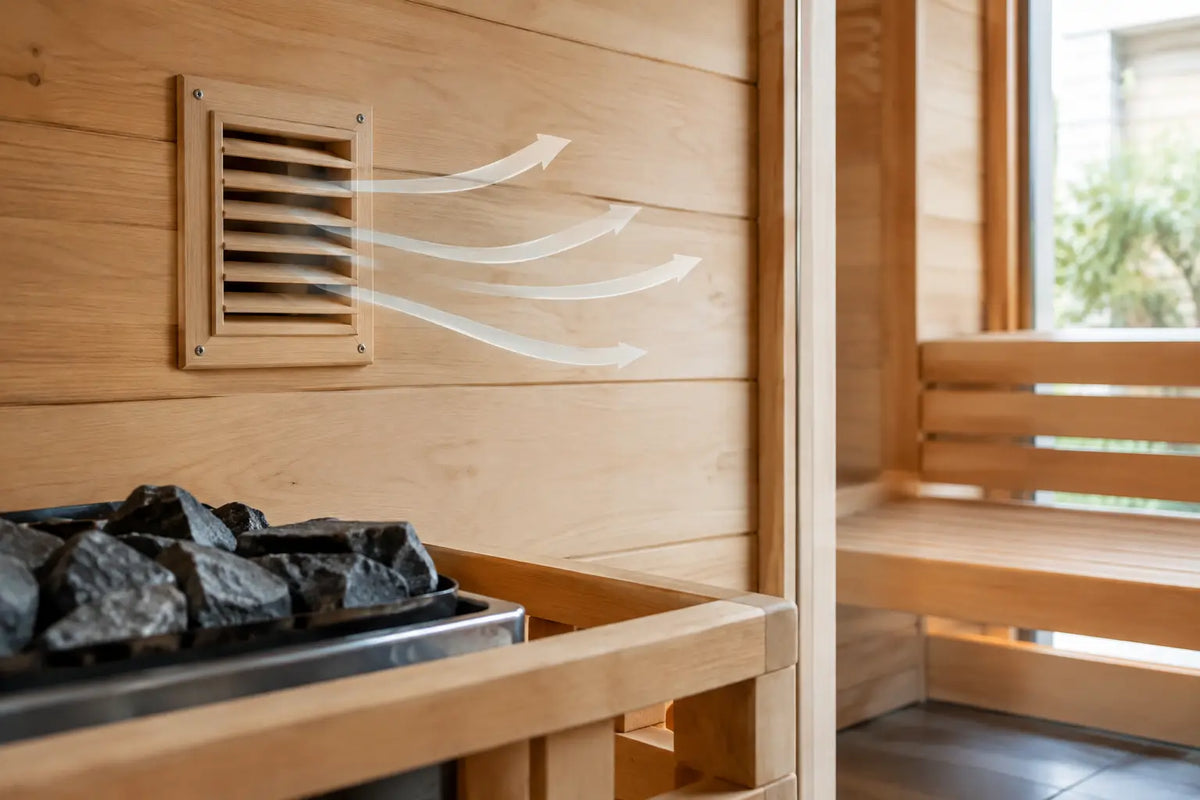
Traditional saunas need a dependable exchange of air because the heater raises the room temperature quickly, and water on hot stones creates bursts of steam. In many residential installations, fresh air enters near or above the heater and exits on the opposite side of the room. This encourages air to move across the sauna rather than simply circulating in one small area.
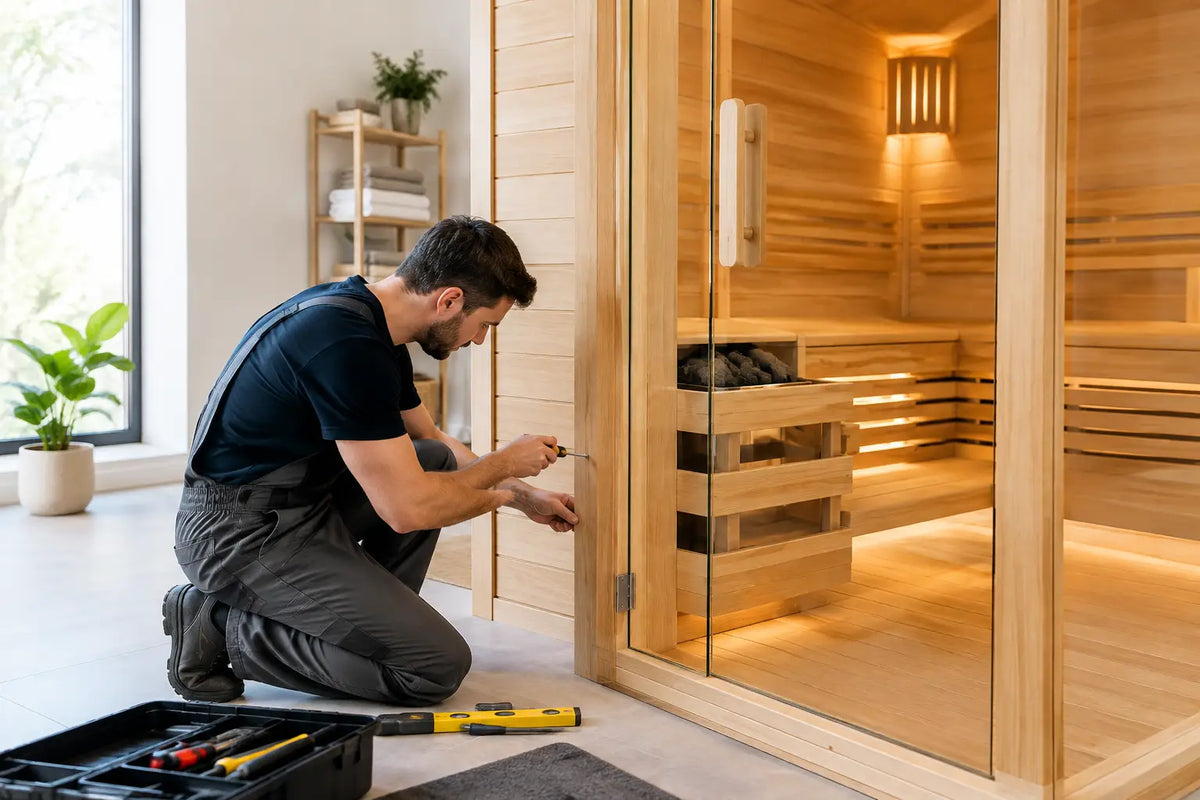
The precise vent locations and sizes should follow the heater manufacturer’s installation manual. Heater specifications are not suggestions - they are part of safe operation and often affect warranty coverage. A qualified sauna installer or HVAC professional can also account for the room’s dimensions, ceiling height, and whether the sauna sits inside the home or in a detached structure.
Many traditional saunas use an adjustable intake vent and an exhaust vent. The intake supplies oxygen-rich air, while the exhaust gives warm, humid air a place to go. Some designs use natural airflow; others use mechanical exhaust. Mechanical ventilation may be especially helpful in tightly built homes, larger custom saunas, or locations where passive airflow is inconsistent.
Infrared saunas
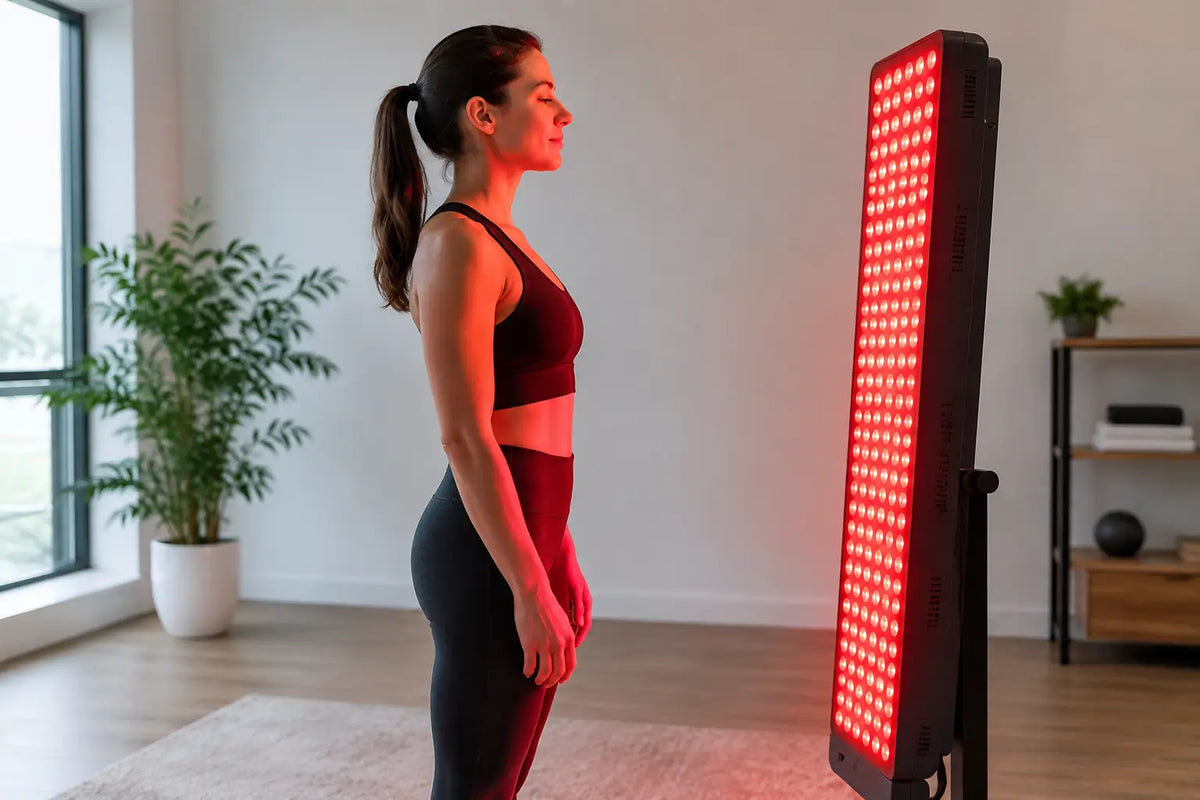
Infrared saunas generally create less humidity than traditional saunas, but they still need ventilation. Users exhale moisture, the cabin warms considerably, and fresh air makes the experience more pleasant during longer sessions. Most infrared models use thoughtfully placed vents that can be opened during use and after the session.
Do not assume that an infrared sauna needs no ventilation because it does not use water on stones. Follow the manufacturer’s clearance and vent instructions, leave room around the exterior as required, and avoid enclosing the unit in a way that traps heat around its electrical components. A well-positioned infrared sauna in a bedroom, home gym, or dedicated recovery room should feel calm and contained, never overly warm or closed-in beyond the cabin itself.
Steam rooms
Steam rooms require the most rigorous moisture management. They need a properly sloped, waterproofed enclosure, appropriate vapor barriers, a drain strategy, and mechanical ventilation designed for the room. The goal is not only to make the steam session comfortable, but also to dry the enclosure thoroughly afterward.
A standard bathroom fan may not be adequate for every steam installation. Because steam can migrate into wall cavities and adjacent spaces when details are overlooked, this is a project best planned with experienced tradespeople. Treat steam-room ventilation as part of the entire building envelope, not as an accessory added at the end.
Outdoor and barrel saunas
Outdoor saunas benefit from ventilation too, even though they have abundant fresh air around them. Barrel saunas often include adjustable vents that allow you to balance oxygen, heat retention, and humidity. During colder weather, opening vents too aggressively can make the sauna harder to heat. Closing them completely can make the air feel stale and slow post-session drying.
The practical answer is moderation. Use the vent settings recommended by the manufacturer during your session, then open the sauna more fully after use so surfaces can dry. In humid climates, consider the sauna’s orientation, roof protection, and the airflow around the exterior as part of the plan.
Where Should Sauna Vents Go?
Vent placement should create a purposeful path, not a random opening in the wall. In a traditional sauna, the intake is commonly placed near the heater, while the exhaust is located across the room. This arrangement allows fresh air to warm as it enters and helps move heat through the bathing area.
However, the exact height of each vent varies by heater type and ventilation method. Some systems position an exhaust lower on the opposite wall to encourage circulation; others may incorporate higher vents for drying or mechanical systems with specific requirements. This is why copying a layout from a photo or online forum can create disappointing results. Your heater manual and local code should lead the decision.
Avoid directing a strong stream of cold air at the bench where people sit. The goal is gentle air exchange, not a draft across bare skin. Adjustable vent covers are useful because they let you fine-tune comfort without compromising the room’s intended airflow path.
Ventilation During the Session vs. Drying Afterward
A sauna needs two different ventilation strategies: one for bathing and one for drying.
During use, the room needs enough fresh air to feel comfortable without flushing out so much heat that the heater must work unnecessarily hard. After use, the priority shifts. Open the vents wider, leave the door open when appropriate, and allow the interior to dry fully. For traditional saunas, residual warmth from the heater can help dry wood surfaces after the last bather leaves.
This simple post-session practice matters. Wipe up standing water, especially beneath benches and near the heater, and do not leave damp towels inside the sauna. If the room has a dedicated drying vent or fan, use it according to the system’s instructions. A sauna that dries completely is easier to maintain and remains a more serene space to enter tomorrow.
Common Ventilation Mistakes to Avoid
The most common mistake is treating ventilation as an afterthought. By the time wall panels are installed, duct paths and vent locations can be more difficult and expensive to correct. Plan airflow alongside electrical service, insulation, waterproofing, lighting, and heater placement.
Another mistake is oversizing ventilation in the name of safety. More airflow is not automatically better. Excessive exhaust can pull conditioned air from the home, create uncomfortable drafts, and make it difficult to maintain the temperature your sauna was designed to achieve. The right amount is based on the specific sauna, not a one-size-fits-all rule.
Homeowners should also avoid venting a sauna directly into an attic, wall cavity, crawlspace, or enclosed garage. Moisture must be directed where it can safely dissipate. For mechanically vented installations, an HVAC or ventilation professional can determine the correct exterior termination and duct materials.
Finally, do not block vents with storage, décor, towels, or furniture. A compact recovery room can be beautifully styled, but airflow needs clear passage. Consider ventilation components early so they feel integrated into the room rather than improvised around it.
A Thoughtful Plan Before You Buy or Build
Before selecting your sauna, consider where it will live and how it will be used. Is it an infrared cabin in a finished interior room? A traditional sauna built into a lower level? A steam shower renovation? An outdoor barrel sauna for post-workout recovery and weekend gatherings? Each setting calls for a slightly different conversation about airflow, humidity, electrical planning, and the materials surrounding the sauna.
At WellNest Home, we believe a restorative home ritual is built from the details people rarely see as much as the ones they do. Ask for the installation requirements before making final decisions about location or finishes. Confirm who will handle electrical work and ventilation. If your project is custom, bring in qualified professionals early rather than trying to solve air movement after the room is complete.
When the heat is balanced, the air feels fresh, and the space dries with ease, your sauna becomes what it was meant to be: a reliable place to step away from demand and return to yourself.